


Cricut: How to Print and Cut Stickers
- theghoulsgifts
- May 23, 2025
- 5 min read
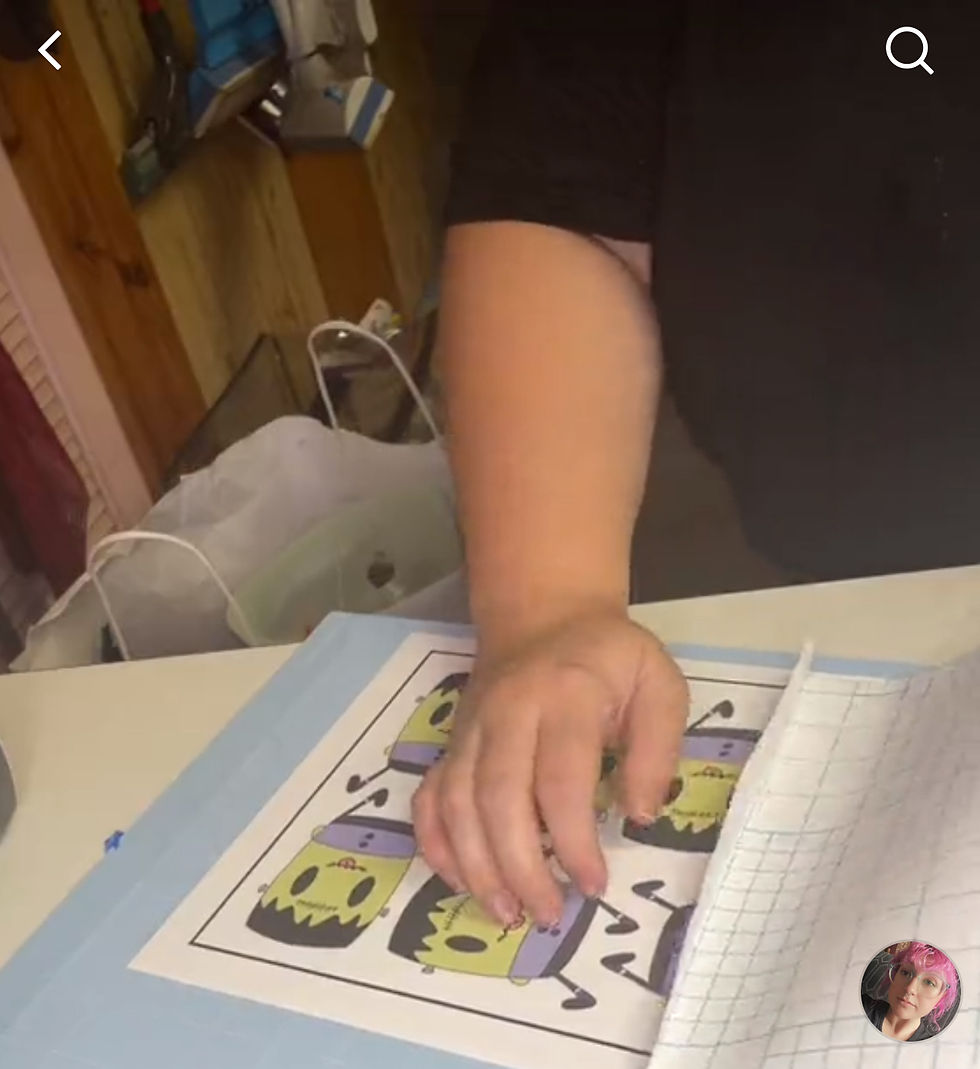
Printing and cutting stickers are not only fun, but an easy and inexpensive item to sell. But, before you get ahead of yourself, you need to design your stickers. Some people make stickers with words and others make little pieces of art. There are many different design programs out there to accomplish either one, but each one has its own learning curve.
My go to program is Procreate. I love to draw up my own ideas. My downfall is text. I'll often use Canva to use as a reference for my text. Sometimes I use a combination of the two, but I often stick with my drawings. I will often save photos or other drawings to inspire me to create my own. Remember, these are to reference only. We are not copying someone else's work (More on that in my post about Procreate).
A very important part of sticker making is the canvas settings for your drawings. I can't give you advice for other programs, but this is what I have learned over several years of using Procreate on my iPad Pro. I usually use a canvas that is 8.5 by 11 (standard piece of paper) and set the DPI to 300. This helps with the pixelation of the image. I put the color settings on CYMK because it's the closest to what the printed version will look like. Digital art and printed art have different properties. Even with these settings, you might need to make more adjustments based on your printer. A white screen with the blue light from a screen is visually different then a flat printed image. Colors may appear darker most common, in my experience; or lighter. I often will add my "offset" of my image (the white blank space around the sticker) in procreate, by adding a layer all the way to the back of the image. You can use a brush (I prefer the monoline) and trace around the image with a fair amount of space that sticks out past the image. If you don't want to trace the image, you can also make a circle or square around it. Fill it in with the same color (usually white). Make sure that this layer is visibly behind the image when you go to save it! If you don't want to make your own offset, Cricut does have the option in Design Space when you upload the image to the project. Up at the top of the screen, you will see the option for the offset. I don't recommend doing it this way, because it's very hard to adjust and if the image has sharp corners, the offset setting doesn't work.
It's important to remember that all devices are different. There are distinct color differences between printers, as well. My Canon is built to print high quality photos on photo paper, so the colors tend to come out brighter and more accurate to the drawing. My Ecotank printer prints a bit darker and can be a little grainier, depending on the size of the image I'm printing. The Ecotank is a better value because it uses less ink and the ink cost much less than the ink for the Canon. For both printers, I save the drawings as PNG's and print at the best quality. Identify what kind of sticker paper you are printing on. Is it Matte or glossy? Clear? Different types, require different settings. Sometimes the sticker paper will have suggested settings, but sometimes you need to print out a few bad ones until you find what setting works best for your printer. You may need to adjust the colors of your drawing to get the results you want, but you will learn to adapt as you print more and more. Experience will be your friend.
Once you have you canvas set, drawing created, and you have learned your printers' settings, then it is finally time for cutting.... Or so you'd think. Cutting is the most frustrating task on the Cricut, but once you learn it, it'll become routine. Start a brand-new project in Cricut Design Space for print and cut. These next steps are vital for maximizing the space on your sticker paper. Note that the Cricut uses marks and shapes to help guide it the machine through the cutting process. The markings on the edge of the printed sticker paper, will tell the machine the exact distance from that spot to make the cuts throughout the process. The actual amount of space on the sticker paper that the Cricut can read to cut is 6.5 by 9.75 inches. I'm going to break down the following steps carefully. Don't worry, I have TikTok videos that also explain these steps! They'll be linked below.
Create a box in the project space (Design Space) that is 6.5 by 9.75 inches
Upload your image to the project; make sure the image has it's offset or create the offset now
Duplicate your image as many times as it can fit inside the box you created. Leave some space around each image, the Cricut needs to identify that each image is in a different area in order for it to properly cut each individual sticker
Delete the box
Highlight all of the images and press the button in Design Space that says "attach"
Save your project!! You can always reuse the project to make more of that sticker, and you won't have to do all of these steps over again.
Click print then cut. A new page will appear with a variety of settings.
Pressure is a very tricky part of the process. If you use an over lay (sparkly layer or clear layer over the sticker that protects the sticker), then you may need to select more pressure. If you find that the pressure starts to cut through to the matt (it wont ruin your matt, but it may make it less sticky), then select less pressure. This usually depends on two factors: how sharp the cutting blade is (if it seems dull, stab it into a ball of tin foil. It'll clean off little bits of debris. If that doesn't work, it might be time to replace it!) and how thick the material is that you are cutting. The more layers (sticker paper and a sparkly or clear layer on top) = more pressure. Thicker sticker paper (like the kind from Hobby Lobby) will require more pressure and a second cut. If this is the case, do not unload the matt. It will have an option to do another set of cuts.
I use the printers' settings, not the systems. This allows me to choose the better-quality image and the type of paper I'm printing on.
Print
Make sure that the sticker paper is aligned with the box on the matt and make sure the matt loads correctly.
Press the button on your Cricut and let it cut
If it looks like the images didn't cut, do that extra pass. The setting will be available after that first set of cuts. Note that if you unload the matt completely and then try to load it again and do that second pass, if it's not loaded exactly the same way, it might mess up the cutting.
Unload and peel of your stickers!
The process can be tough if you've never worked with a machine like this before, but I promise you that you can figure it out. I wont lie, I believe there are better machines than the Cricut, but the Cricut is what I have and it does get the job done. Feel free to leave a comment if you have any questions or advice to add!
- Melissa
TikTok's to help you through the process:
https://www.tiktok.com/t/ZP8M1BcB2/
https://www.tiktok.com/t/ZTjHm2aNE/
https://www.tiktok.com/t/ZTjHmFQQ7/
https://www.tiktok.com/t/ZTjHm6xwL/
https://www.tiktok.com/t/ZTjHm2uS7/
https://www.tiktok.com/t/ZTjHmVMBh/


Comments